Xbox power supply for RepRap
Here is a build from Team RepRap:
Other Uses
When working on the junk bot build I came up with a neat idea for another use for the Xbox 360 PSU. I have an empty shell that covers the Xbox PSU, which is used for mock-ups. Then it hit me, this shell would make a perfect case for either the ramps controller or the Printrboard. I checked and it fits with a little extra room. It also leaves enough height clearance for wiring. You could easily top or end mount a fan. This would give you protection as well as easy access to your controller. You can find the shells for a little of nothing and there are downloadable mounts for the Xbox PSU via thingiverse. I might build a case once if done with the junk bot and post a tutorial.
Soon we will be updating with instructions to hook up an Xbox PSU with the Printrboard controller
Many people use the Xbox 360 power supply to run their heated bed but few ever mention it or offer information on it. So I decided to add it here. Here is some basic information on the power supply and how to use it with Ramps setup.
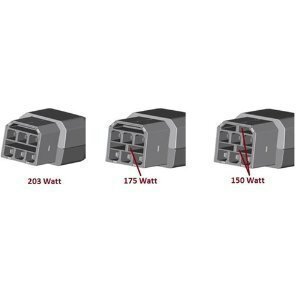
If also included a pinout guide to help:
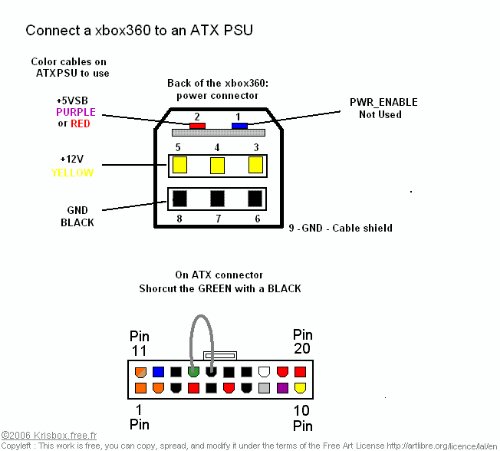
With Ramps electronics it’s really easy to use a separate power supply for only the heated bed. For me, a 203W 16.5 amp 12v and 5v X-Box 360 Power Supply has proven to be a functional, cheap solution for powering the heated bed or the electronics as well as both in a lot of situations. I’m currently power my whole printrbot that is heavily modded and has a 8 x 8 heated bed. This power supply works great and heats up my extruded and bed quicker then my old 25amp ATX power supply. The xbox 360 PSU offers several important features such as active cooling, overload protection, surge protection, over-heat and standby mode which can be set to always on or setup through a switch to toggle between standby and on. You can also find more information at the reprap forums. Just search for Xbox PSU or something similiar as i have helped several builders setup their Xbox PSU’s.
Materials: 203W X-Box 360 Power Supply ($15 from Craigslist, remember to make sure it’s 203W!) 2 Short Lengths of 12AWG Stranded Wire ($0.37 a foot from Home Depot) 2 12-10AWG Butt Splices (~$2 for a package of 15 from Home Depot – Link)
Instructions:
1. Ensure the X-Box 360 Power Supply is unplugged and fully discharged. ( I and RepRap Squad members are not responsible for you hurting yourself so use your head. PSU’s can hold a charge even after being un-plugged. If you have no ckue what your doing dont do it or ask for help from us or someone that has experience with electronics.)
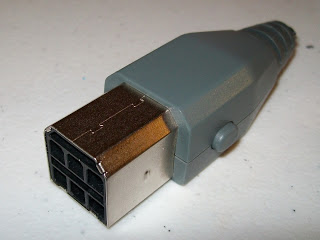
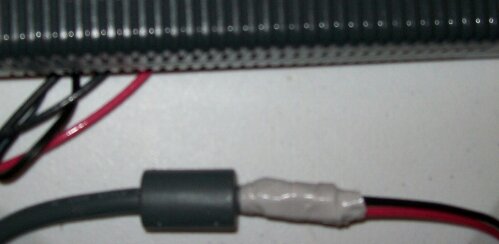
2. Cut off the connector which goes into the back of the X-Box 360 (as close to the connector as possible, or just before the magnet).
3. Peel back the cable’s shielding to expose the 4 yellow wires (12V), 4 black wires (Ground), 1 red wire (5V), and 1 blue wire (Standby or power safe).
4. Strip a small amount of the red and blue wires and connect them to each other (optionally solder). At this point I later decided to add a switch between the red (5v) wire and the blue (power standby) wires so i can switch on and off power standby. This will prevent the power supply from staying in stand-by mode after you give it power.
5. Strip and twist the ends of the yellow wires together, then strip and twist the ends of the black wires together (possibly solder these and the yellow wires as well).
6. Place the yellow (remember these are 12V) and black (ground) wires into their own butt splices, crimp, then crimp the 12AWG wire into the other side of each of the butt spices. It will help you to remember which one of these is ground by splicing black wire to black. (Also use shrink wrap or electrical tape to completly cover any exposed wire to eliminate the chance of a short.)
7. Put some electrical tape or heat shrink around the connections.
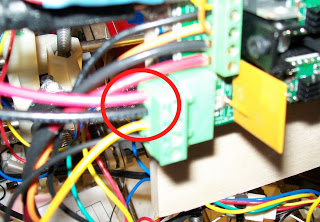
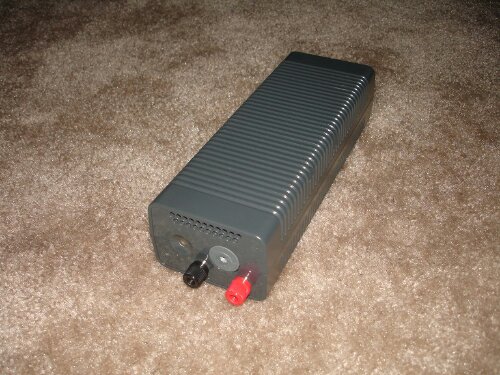
8. Power up (you should see a green light on the power brick) and test with a voltmeter. The green light on the power supply = Power OK, The amber colored light = On standby and the red light = fault. To clear a fault signal, unplug the power cord from the back of the power supply. Then wait a few seconds and plug it back in. This will clear the red light fault. If everything seems to be working, you’re ready to attach the leads to your electronics. (below is a picture of the leads attached to RAMPs 1.4 electronics)
***Note: Never wire or open power supply unless the internal power has been discharged. I cannot stress this enouph. Inside the power supply there are power capacitors that will store extra power long after you unplugged your power supply. If you have no clue what you are doing ask for help. I am not responsible for any injury inflicted while performing this task. Use your head and enjoy***
Here’s some updated pics of my xbox psu I converted to 4 pin molex connectors like you would find on an atx psu:
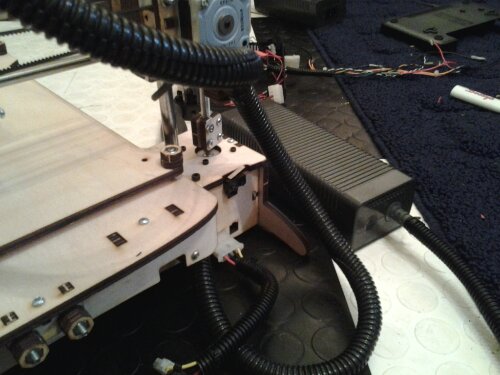
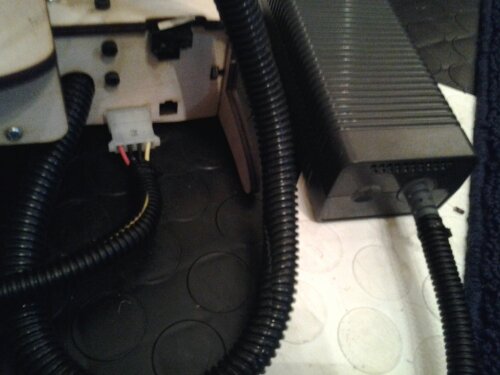
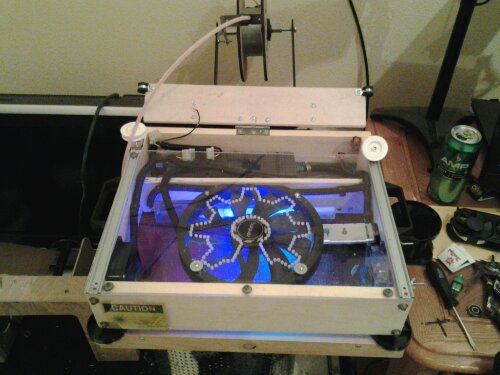
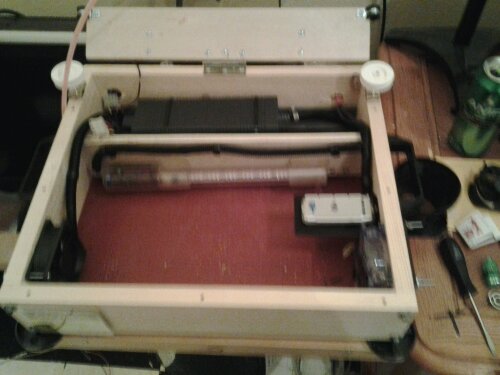
The above picture is ment to give you some ideas of ways to do it different ways. Below I have added a picture of my xbox PSU in my new Printrbot Plus V2. I decided to mount my Xbox PSU in a stand that I built for my electronics and cooling system.
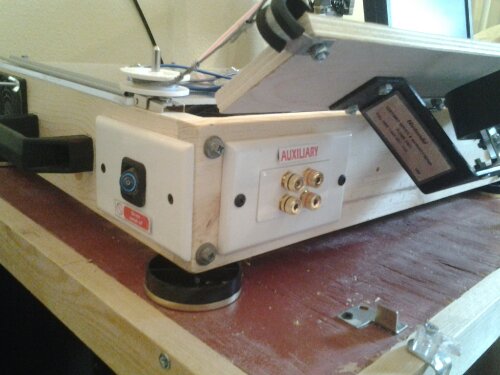
Here you can see the main power switch which will take the Xbox PSU out of standby. Also I decided to add an AUX + and - for future add ons or for quick power use.
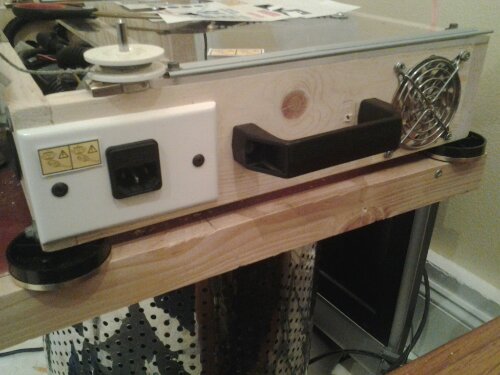
This is the main power plug which is routed to the Xbox PSU. It is also fused at the plug for added protection.
Update: September 18th 2013
There are all kinds of different ways to mod your Xbox PSU, depending on what your needs are. You can even buy an xbox 360 motherboard off ebay and use the female plug to make a receptical for the standard xbox plug. Another option is outfitting it with a 4 pin molex connector as we did with one of our builds. The molex plug works great because, the Xbox psu has multiple grounds, 12v and 5v lines which are the standard setup for typical computer style 4 pin molex plugs. Just make sure to connect the wiring in the correct order or you coukd short out your board. With multiple different end plugs you can pretty much adapt the xbox PSu to fit any requirements for a controller no matter which one you have.
At RepRap Squad we have several different bots that use Xbox PSUs and weve had real good luck. I must warn that there are knock off Xbox PSUs and they are hard to tell that they are knock offs. These versions can be temperamental and have been known to fail or not work correctly. We have used an xbox PSU on our Printrbot Plus Dual Extruder, Printrbot Simple, Printrbot Original Nintendo ED, Simple XL all using a Printrboard controller as well as several RepRaps with RAMPS 1.4 controllers. Overall we like the XBOX PSUs as they offer a lot of bang for the buck.
If you have any other questions that have not been answered here then you can contact us here or on Twitter @REPRAPSQUAD. All caps and all together. Happy building.

Posted on March 15, 2013, in Uncategorized and tagged PSU, RAMPS, reprap, reprap squad, repstrap, Xbox, Xbox power supply. Bookmark the permalink. 9 Comments.




You received a really useful weblog I have been here reading for about an hour. I am a newbie and your achievement is very significantly an inspiration for me.
Sorry a newbie question, can i use a 360 psu to power all prusa i3 electronics/heat bed/hot end or so i still need a seperate psu?
Which Xbox PSU do you have? They make several different versions with several different power ratings. I as well as several others I know have ran the 16.5amp Xbox PSU to run our entire setup with an 8×8 heated bed without any issues. The ideal situation for anything larger would be to run 2 Xbox PSU’s with a SSR (solid state relay) I have mine setup this way but my bed dimensions will soon be 10x16x16 inches. So you should be fine unless you have a heated bed with unusual power requirements.
I’ve just bought of ebay a 203W xbox 360 psu for £8, this is my first 3d printer so i wish to keep things easy hence the prusa i3. The heat bed is the mk2a so the print area is quite small and I’m only using a single extruder. Final question, the ramps board has 2 +/- inputs, do both require 12v or is one 12v and the other 5v (sorry, i’m a newbie to electronics aswell).
It’s been a while since I’ve used ramps. One should be power for your bed and the otters for your extruder. So be the will be 12v. If you want to email me at RepRapSquad@techie.com I can send you a bunch of information on ramps as well as wiring diagrams.
This is my first time visit at here and i am in fact pleassant to read everthing at one place.
Can I run my printer off of 12v-12.1a with no heated bed?
12v at 12amps? If your asking if you can run a RepRap using a 12amp psu then yes you can. Typically without a heated bed you will need at least 5-6 amps but more is better when it comes to amperage.
Pingback: printrbot GO – some prints, some tweaks and some mods | ei8htohms