Printrbot V2 Mods
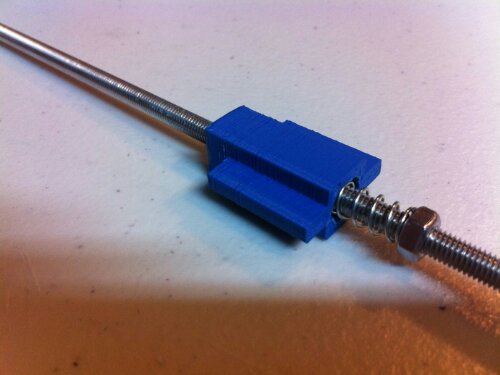
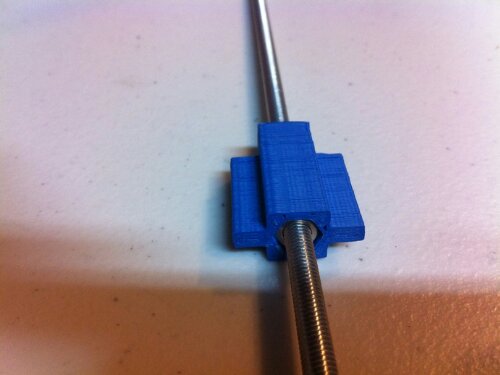
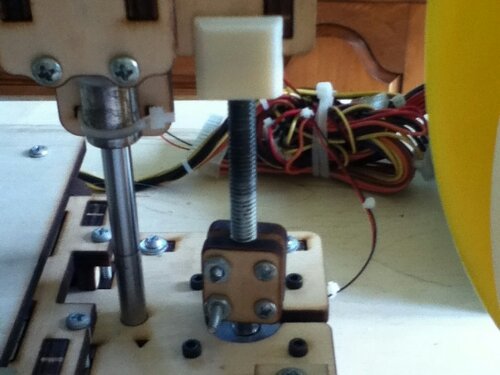
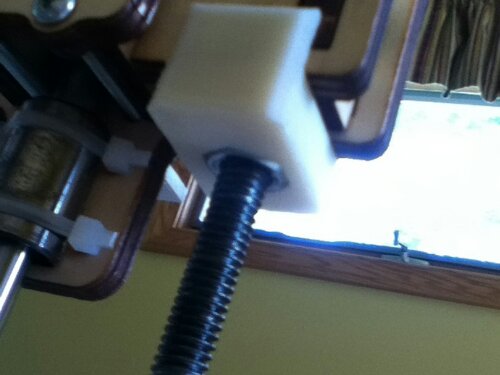
I recently found some Printrbot V2 mods that happen to be for the LC Plus model but you should have no problems with the standard V2 LC model as these parts will work for both. One of the issues I noticed when I was putting together my V2 Plus was the Z axis nut notch. It didnt hold the nut well and left it to rotate partially. I found a solution to that issue. All of these mods can be found at Thingiverse.
The spring in between the Z axis guide nuts also helps eliminate backlash and is something that has worked well for me in the past as well as currently.
The wings on this setup ride within the nut trap and work very effeciantly.
As of June 10th I found some similar printable mods. These one are a variation but they may suit your needs better depending on what they are.
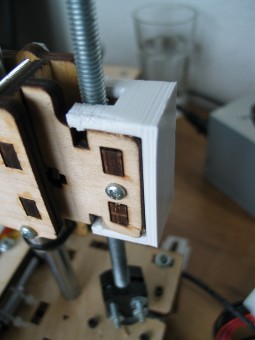
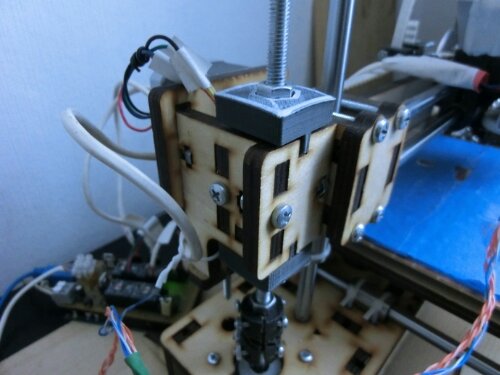
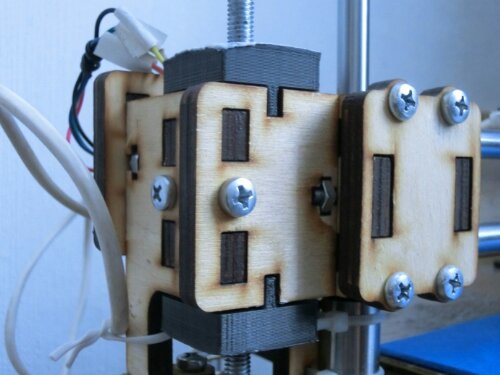
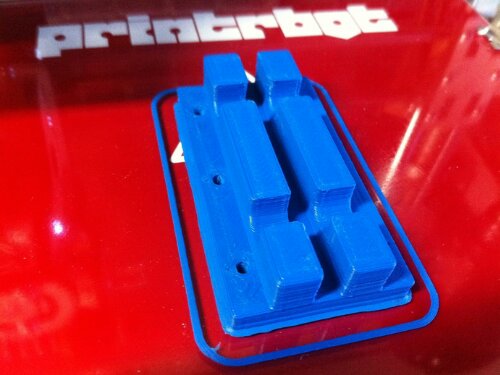
Another issue I noticed with the new V2 was the X axis smooth rod mounts. The stock mount didnt work well to make the rods parallel. It also did not hold the rods very efficiantly and allowed them to slip a bit when the X axis belt was being tightend. Another fix I found by the same designer was to print a replacement that solved both of these issues very well. Another neat part about printing these x axis mounts is the fact that you can print them in any color you want. This gives your bot a little bit of much needed color.
Here’s a very well executed x axis rod mount that I found on Printrbot Talks forum’s. I will definitely be adding these to my Printrbot plus V2 but, instead of regular LEDs I will add a green, red and orange LEDs to use as status lights.
The little clear PLA face plate is a diffuser for a blue power on LED I’m going to place in each one. If you don’t want an LED, you can add color to the design by printing the plate a different non transparent color, or if you’re a monochrome person,. Print both parts the same color. They press fit into the fixture.
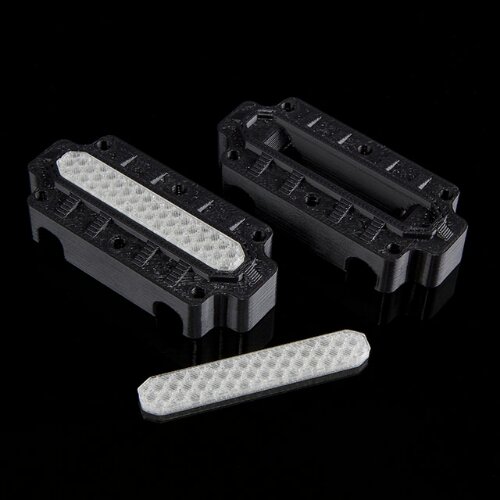
If you do go with the LED idea, print the diffuser 1 wall in all directions with honeycomb and the honey comb will show through with the light. The actual X Rod Blocks should be 2 walls in all directions ~30% infill.
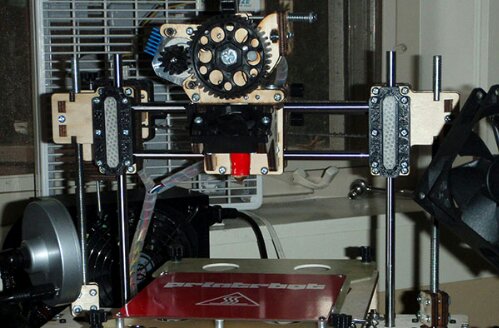
Here’s what AlexC wrote on the post:
Ive printed about 6 things since installing them on Wednesday, and so far I am blown away with the print quality I am looking at from the last 2-3 mods I have done,. My corners are crisper, my edges are all beautifully even, walls are smooth, small fill areas are no longer bulging or puckering, and small hole edges are darn near perfect, bridging has even gotten a little better. Things are looking so good I even started to inch my speed settings upwards! =)[/quote]
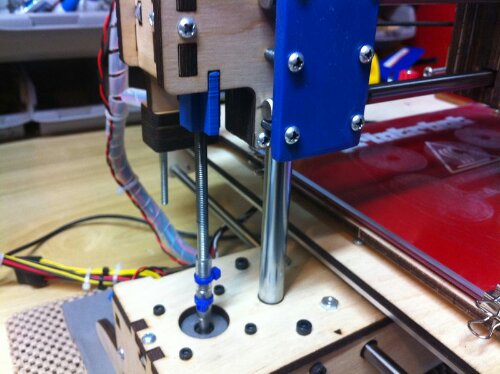
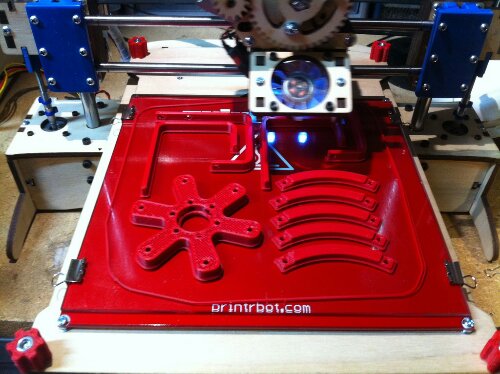
Here you can see the x axis covers installed as well as the Z axis retainers.
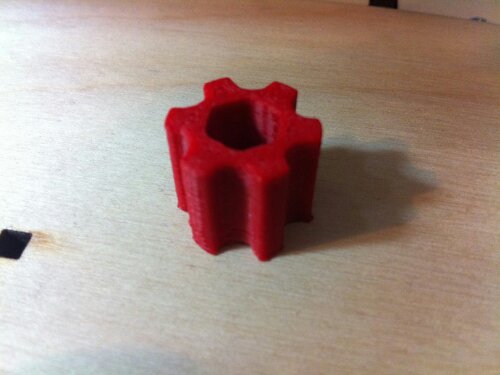
I had a lot of problems with the nuts on my bed leveler system working there way out during operation. I found a way to solve that issue by printing out a set of leveler knobs that not only keep it in place but allow for easy and quick adjustments before operation.
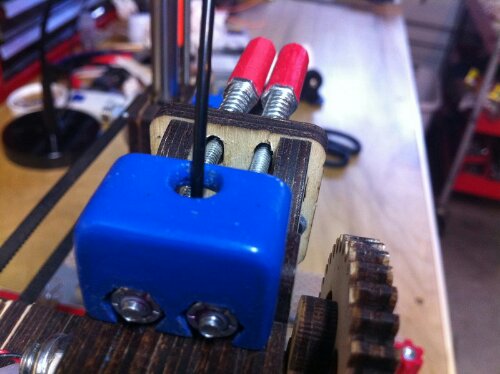
A mod that helped to keep filiment going into the extruder was a guidler that is designed to fit on the stock Printrbot extruder. There is also a printable spring holder for the extruder that makes for easy adjustments. The combination of the two make for simple extruder adjustments and a more reliable extruder operation.
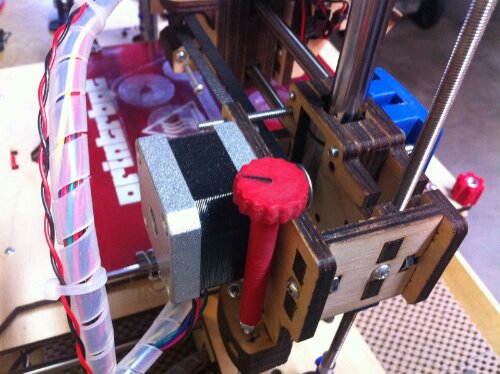
A printable z axis adjustment knob is a good idea if you dont like using a screw driver for simple adjustments. It has a knob to make for quick adjustments. It is however not as accurate as using a set of calipers for vertical clearance. You can use a perminate marker to put a line for referance.
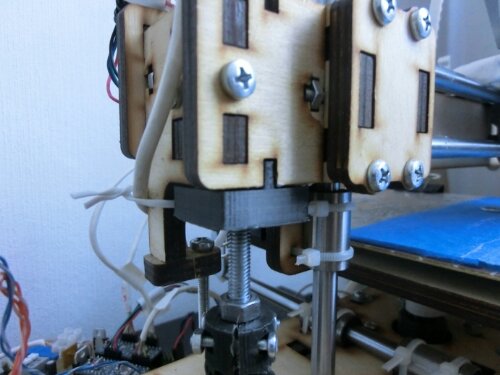
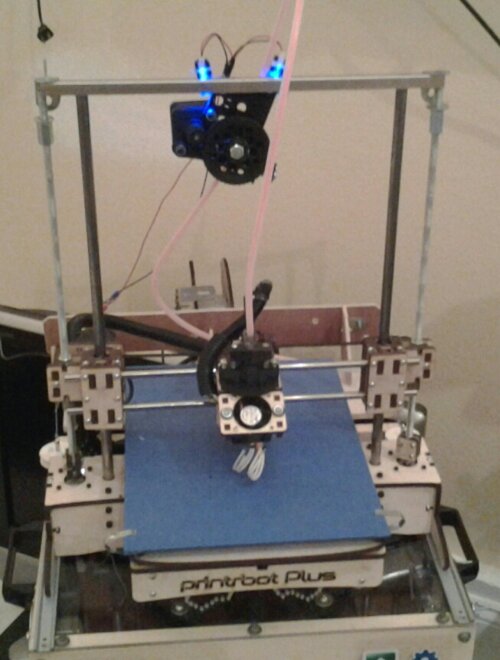
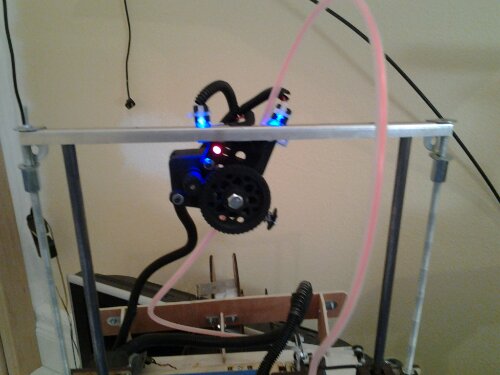
A mod that i have personally built is a Z axis stabilizer. I also needed a location to mount my bowden setup that will eventually be a dual bowden setup. I used 2 L shaped strips of aluminum that i bolted together. These use pressure to firmly mount to the Z axis smooth rods and work very well for stabilization as well as bowden mounts. This location also puts the least amount of bowden tube pull or push on the extruder.
Adding regitity to the pb plus bed and sub mount
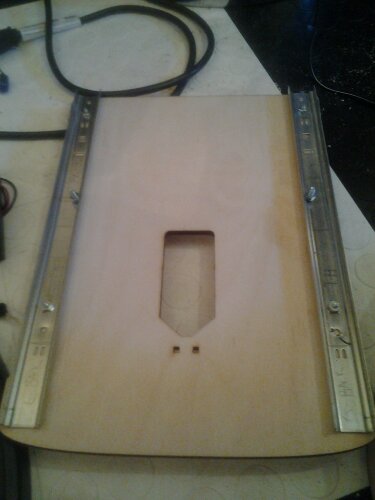
I have heard about issues with the wood bed warping and after recieving my pb plus I noticed it as well. So one of the 1st things I did was to get the bed and sub structure mount for the bed as flat as possible. Then I mounted one “L” channeled piece of aluminum on each side from the front to the back. I drilled holes about every 3 inches to make sure it would keep everything as level as possible. I also chose to use fairly heavy duty nuts and bolts.
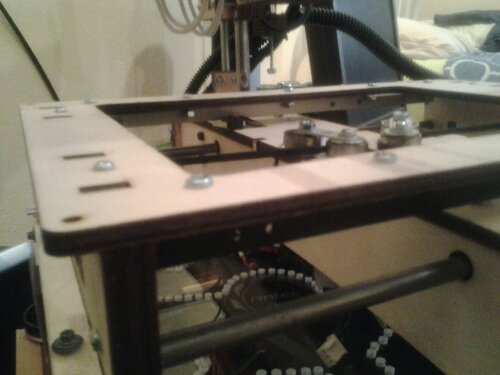
On the main bed piece I used half boxed stamped metal which added a large amount of regidity. It is low enouph profile to only take up a small amount of my Z axis print height and high enouph to add some serious strength. I fastend it with the same kind of bolts and mount distance. I had to notch out the 4 corners of this mount to accomidate for the bed leveler mounts and springs, which turned out to be easy with a bench mounted grinder.
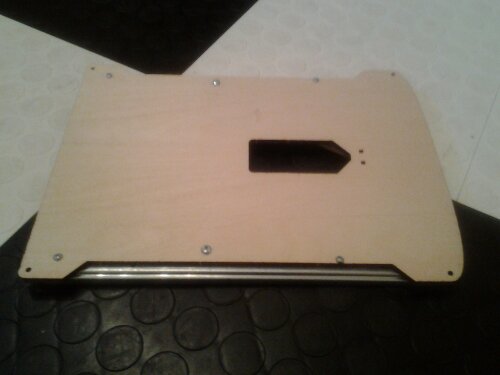
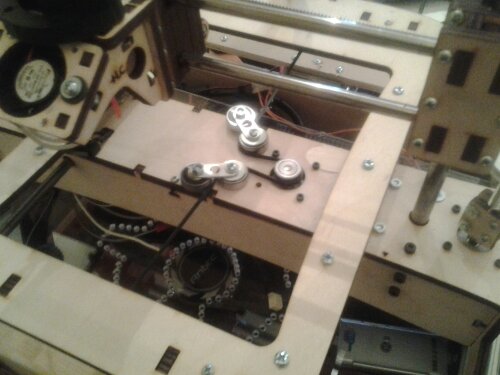
These modifications will make it a lot easier to keep the bed even and level. Which should lesson the amount of re-leveling needed before prints. Being aluminum the added weight is minimal at best and should not effect bed movement. I also took the time since I had the bed off to put on aluminum belt guides with ABEC 5 bearings that act as a tensioner on the Y axis. These will help keep the belt from wondering as well as keep the belt tight for better print quality. The tensioner system can be easily adjusted in any position within 360 degrees. Ive found that this is a lot smoother movement even over using the stock PB idlers with fenders. Eventually i will add lower fenders on the idlers as well as the tensioners to keep the belt from going too low, which hasnt been an issue so far.
Posted on June 9, 2013, in RepRap News and Usefull Info and tagged bowden mount, mods, printrbot, v2 LC, v2 plus. Bookmark the permalink. 4 Comments.



Very cool mods!
Thank you for the posative comments. I cant wait to put all these new mods to the test.
How can I get in touch with the person who wrote this post?
Is there a mobile phone number that I can call?
You can email us at: RepRapSquad@techie.com